
Why calibrate your first layer ?
The importance of first layer calibration has been stressed enough in all study materials and content on 3D printing. Prusa3D’s official blog on this subject goes into quite a bit of details here. So why another post on this subject? What extra knowledge does this post aim to achieve?
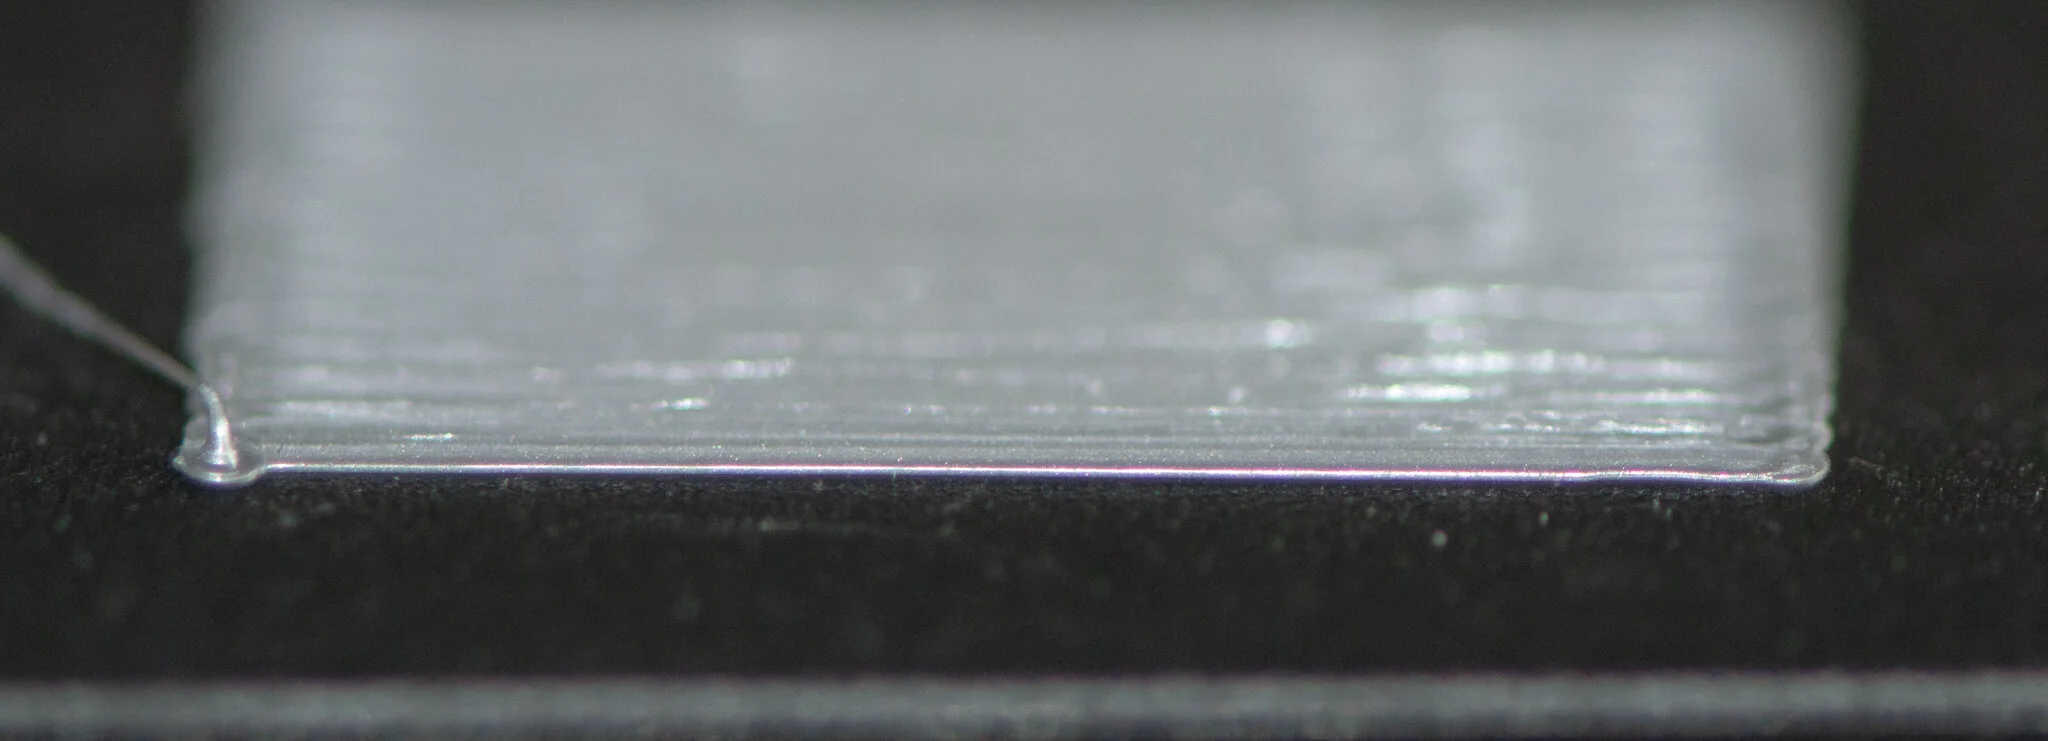
Most step by step tutorials show a cartoon depicting what a cross section of a line of filament should look like when laid down. The line should be slightly squished, the description says. One of the questions that I had when I did my first calibration was “what does slightly squished mean?”. In addition, the cartoons only shows the two extremes that should be avoided, i.e. when the nozzle height is too lower or too high. For new comers, such as myself, this lead to some confusion as to when to stop fine tuning. I have attempted to answer this question with the use of pictures and video.
After going though the usual drill of fine tuning the nozzle height till you are kind of happy with the ‘squishyness’, simple checks that can done are shows in the video below:
Some pictures of the rectangle portion of the print, that I deemed a good first print, is shown below. Hopefully the close ups give a good idea on how much the layer should be squished. I have had good prints by calibrating the first layer more towards the completely flatter side. This is against the general advise that I see on this matter. As with anything 3D printing related, run a few test prints and experiment before settling on a setting.

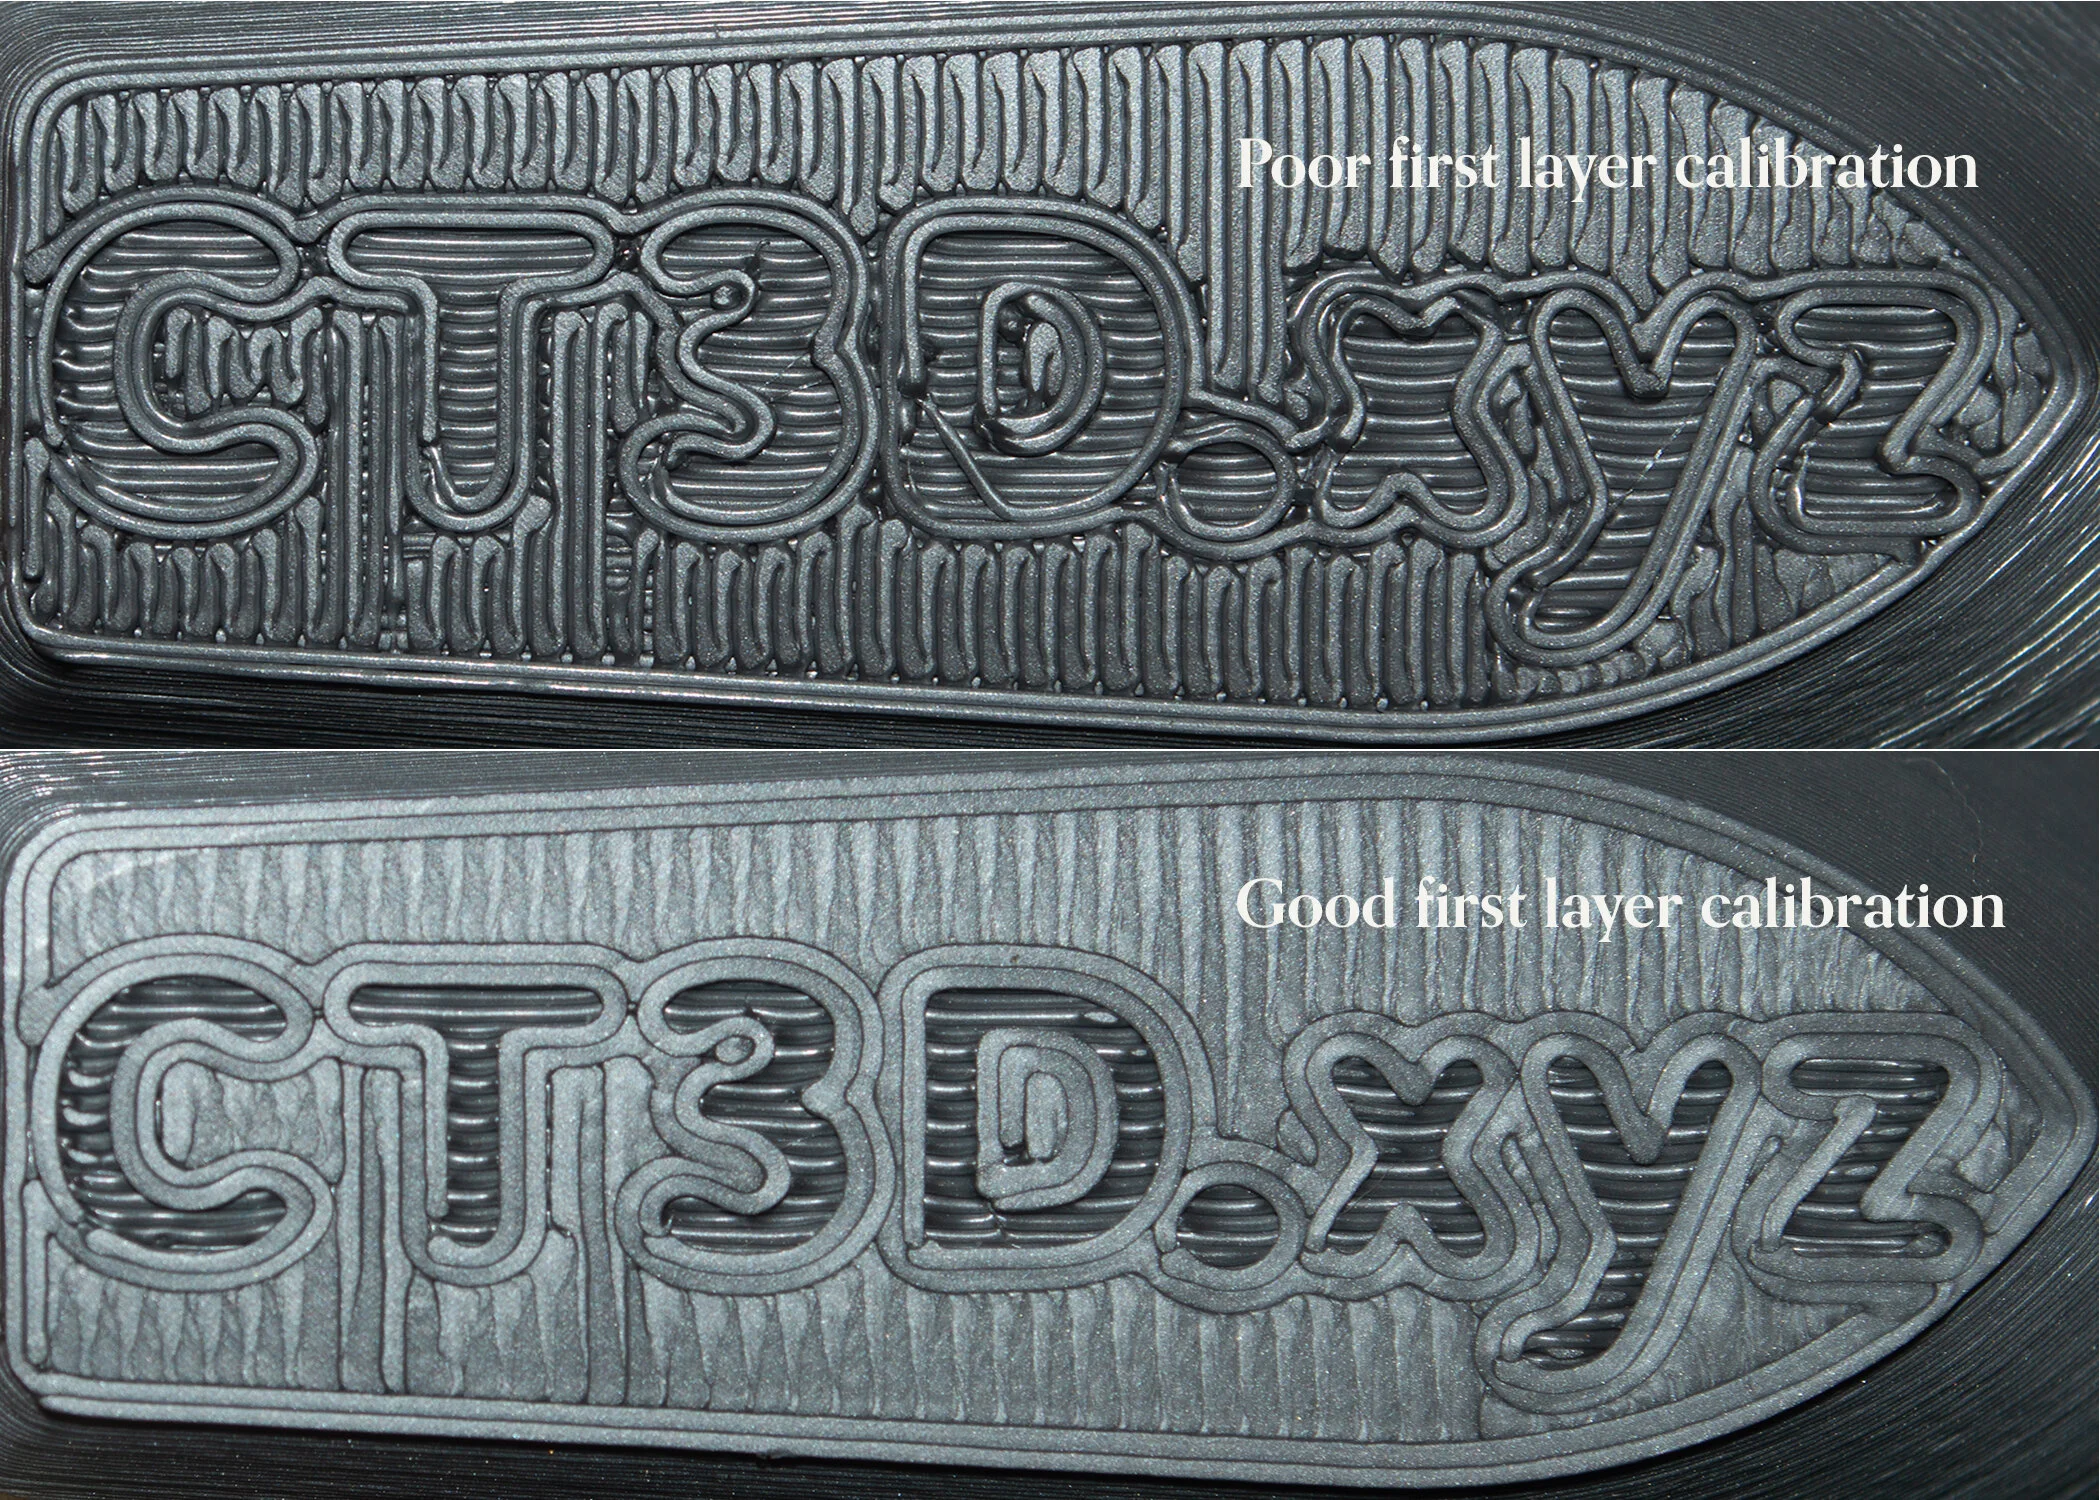
The bottom layer of test print is also a good reference. Examples from a good and failed prints are shown below.
Do keep in mind the the first layer calibration is not a one time affair. The first layer adhesion deepens heavily on a good calibration and several factors can effect the first layer adhesion. Re run the first layer calibration based on your print results, especially if you experience wrapping or peeling off issues.
I would like to further stress upon the importance of first layer calibration and how sometimes it can be a silent killer by using an real-world example. Read on.
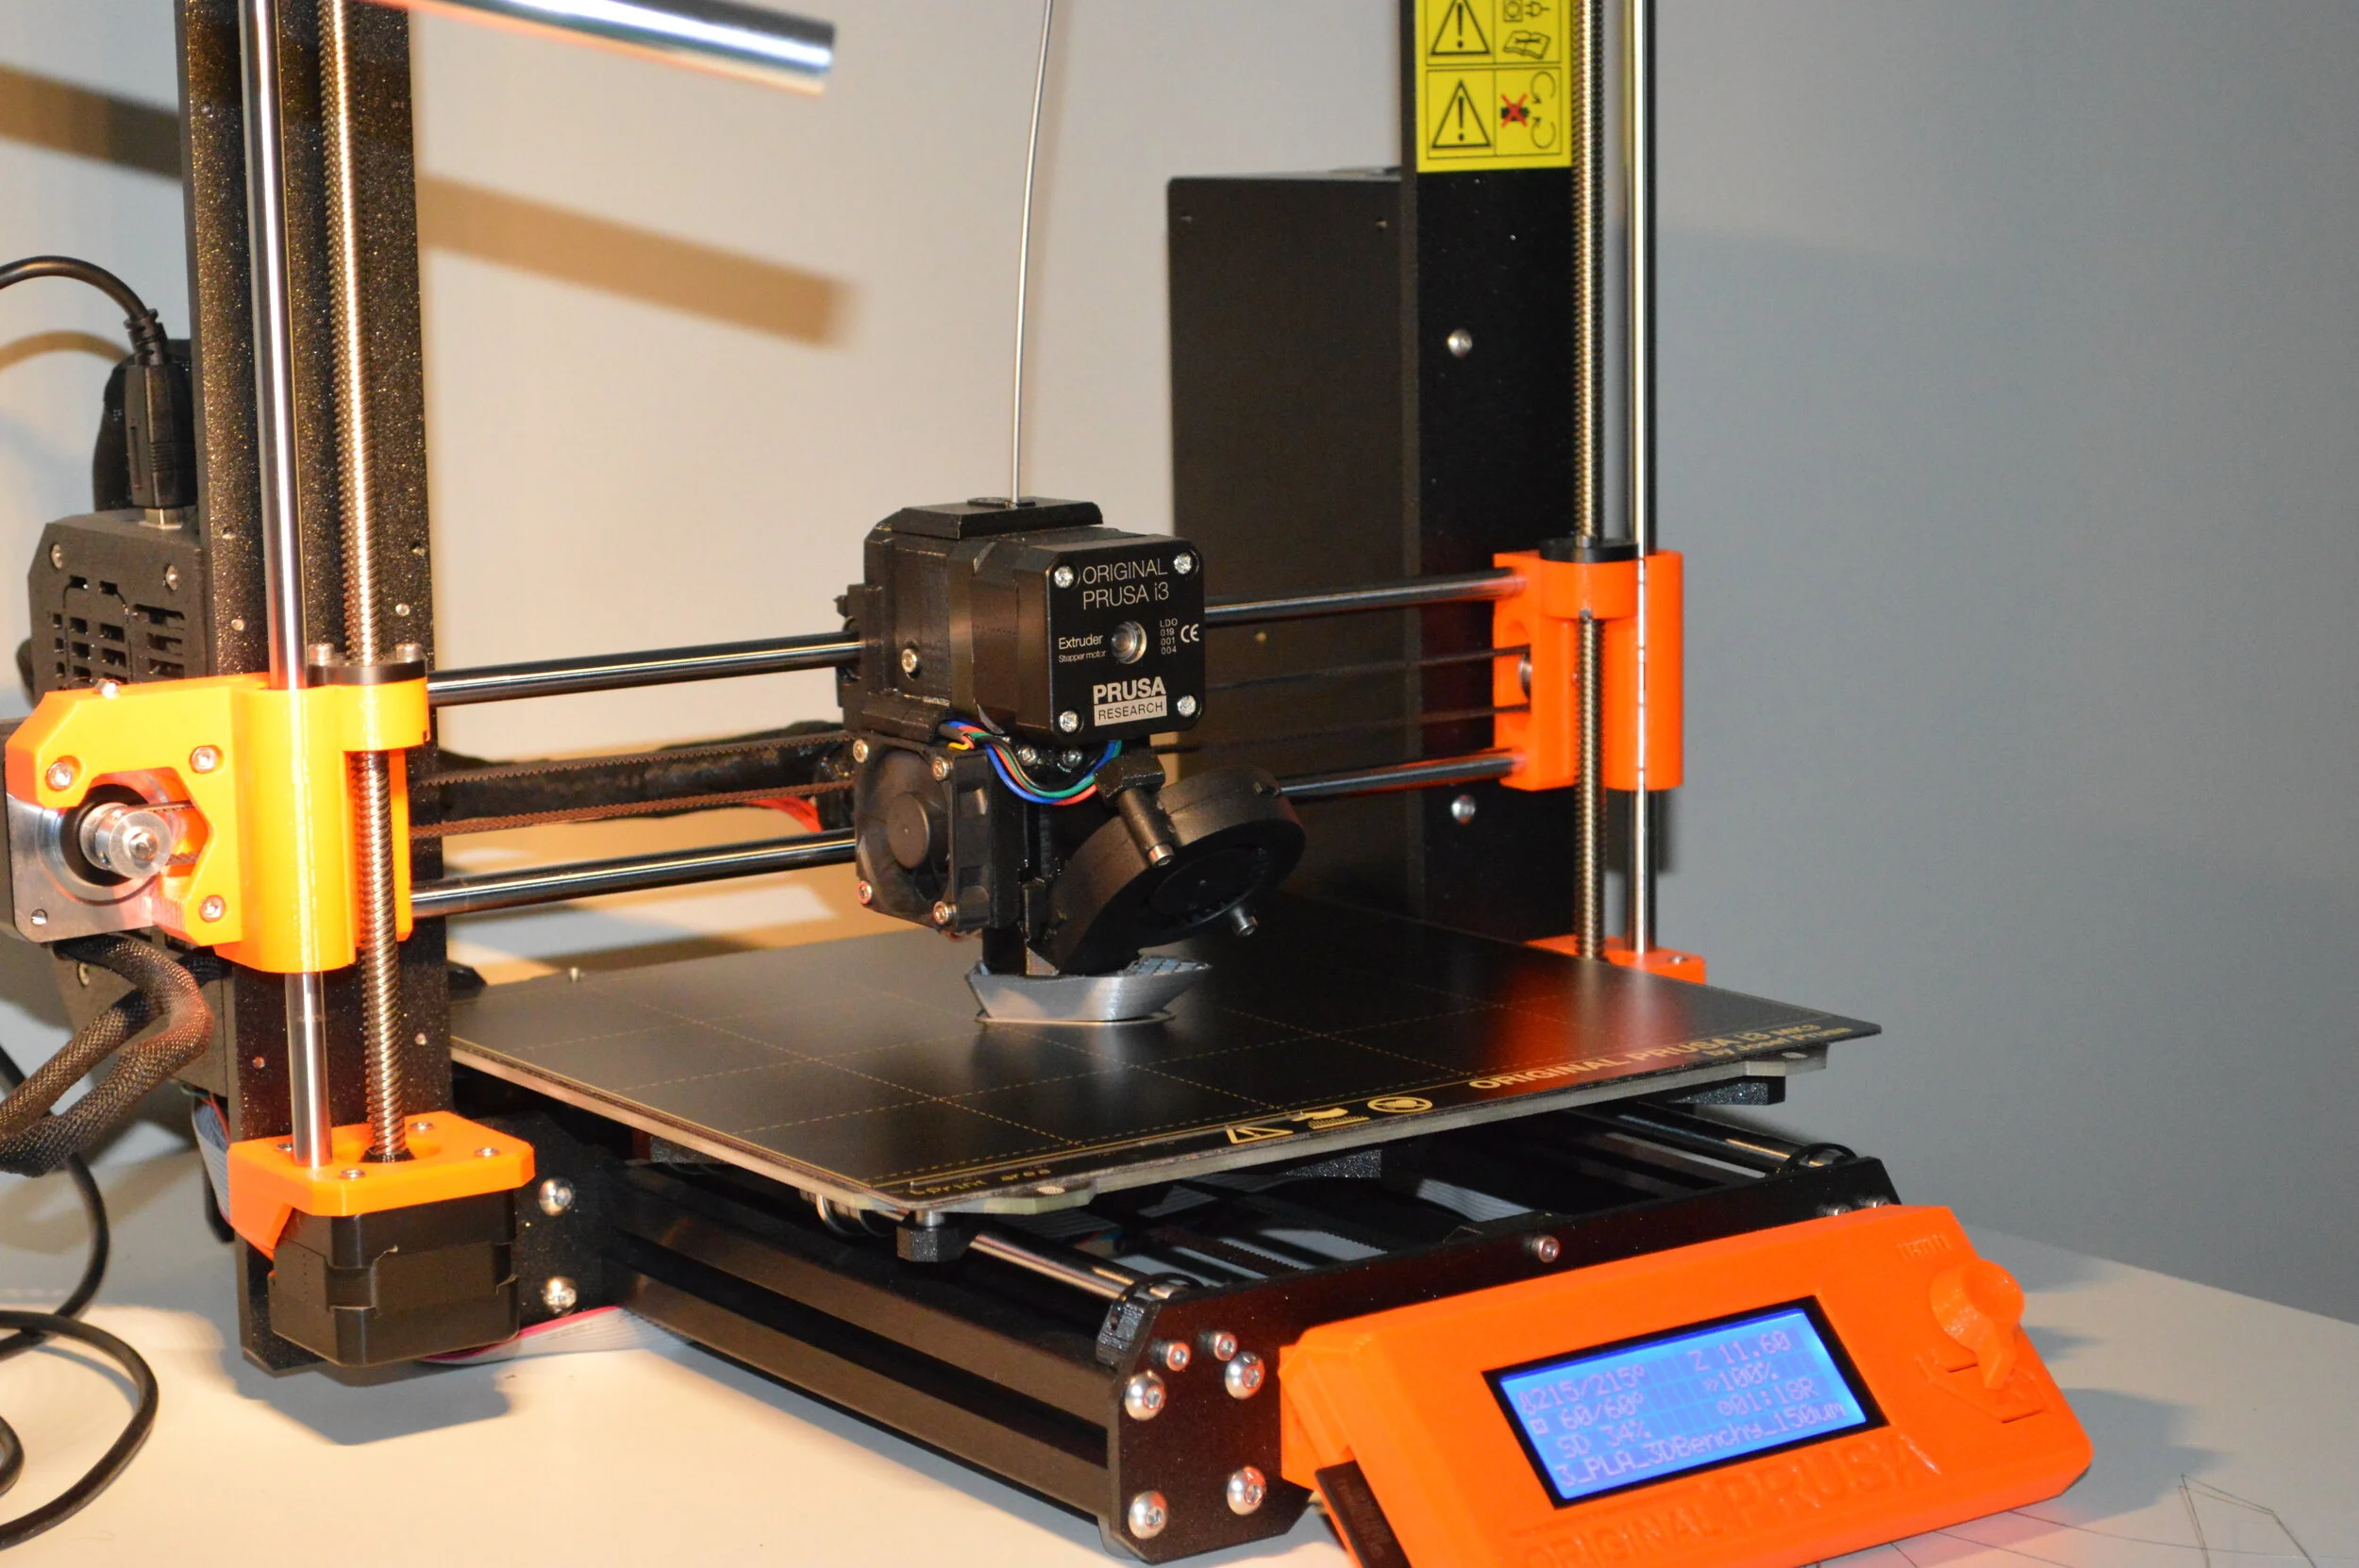
It all started with a Benchy print which I started after my printer was idle for nearly a month. The printer was not moved or fiddled with so I went straight ahead with the test print. The print started off fine with a early indications of failures where there was a slight wrap on one edge of the boat. This was quite subtle and it slipped my eyes. I only happened to notice it half way in the print but I let the print go on believing it to be an issue that can be swept away from alcohol cleaning the print bed.
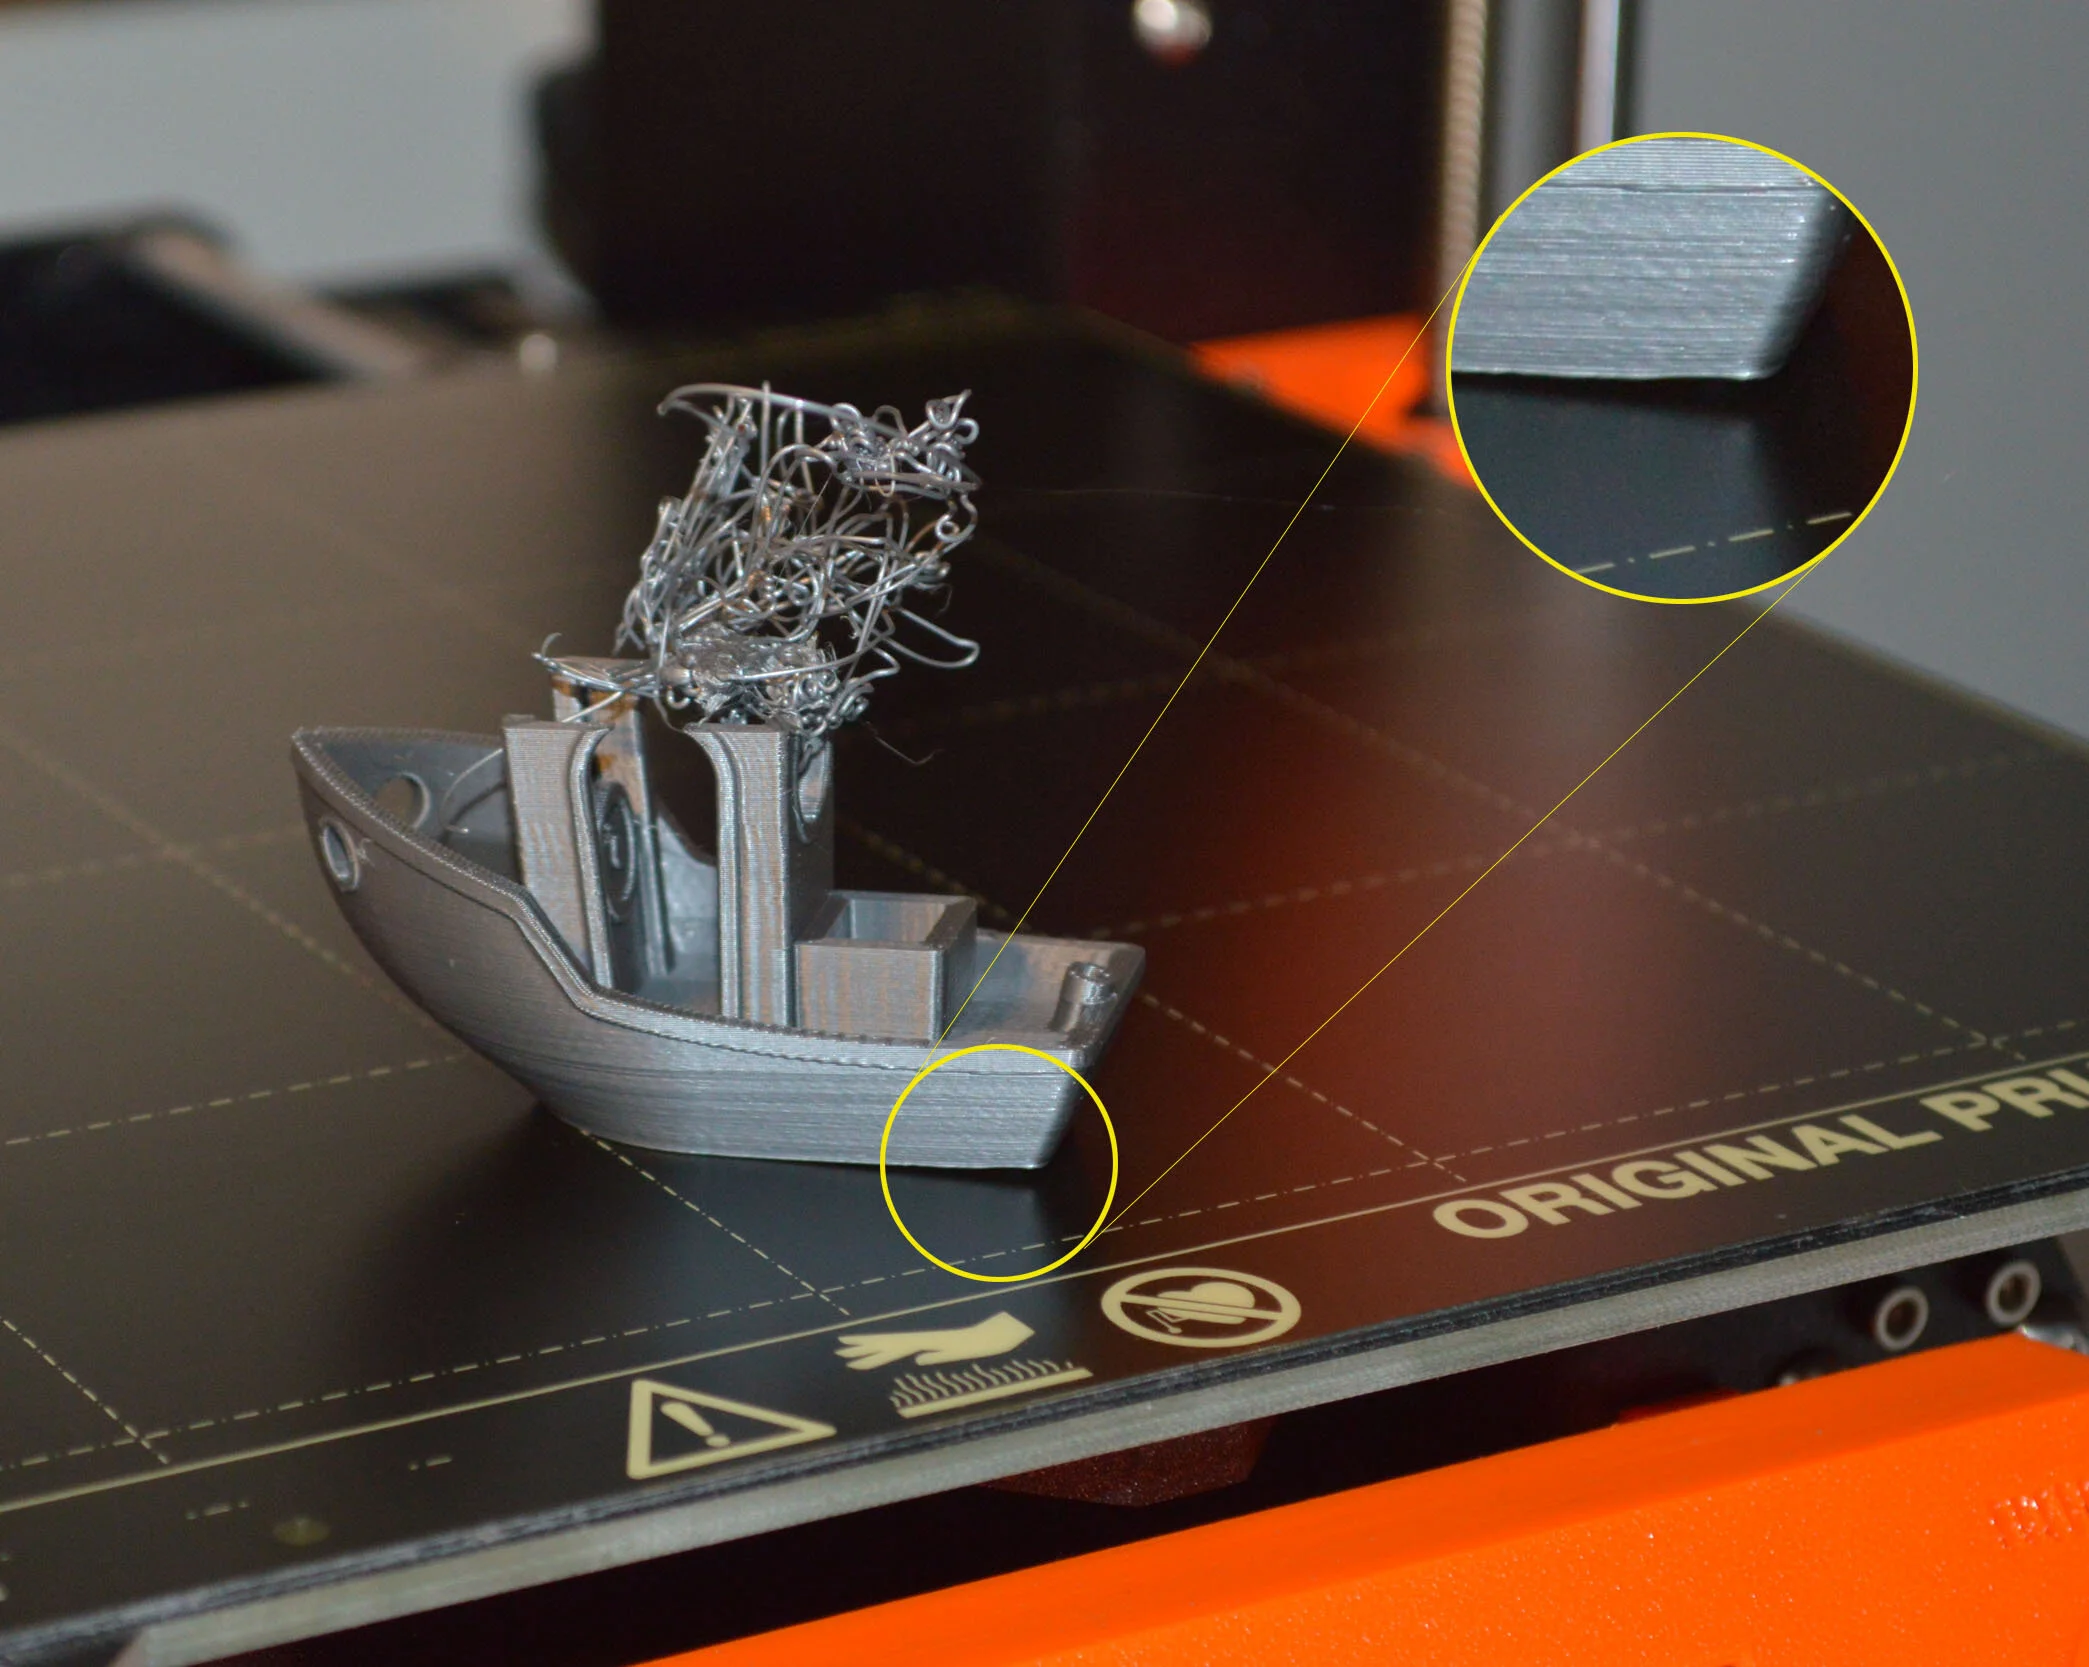
How did the print end up? Poorly.
The print failed only at the end of the job. The features of the benchy till the failure point was pretty good and did not provide any indication of what was to come.
In summary, to always get a very good first layer adhesion and to ensure that the print completes as expected, the following tried and tested techniques should be done before every print
Clean the print bed with IPA before every print. Use 99% IPA whenever possible.
Clean the nozzle to make sure there aren’t any blobs remaining on the head.
Do a first layer calibration as frequently as possible or if the printer has been moved, under gone any handling, or even if it was idle for an extended period of time.
Prusa has posted a comprehensive video on preparing your print bed, linked here (starts at 7:18). The instructions given here is applicable for any printer.